
Figma to Framer: My Design-to-Code Workflow
The gap between design and code has always been where projects go to die. Handoff documents get ignored, pixel specs drift, and developers rebuild what designers already solved. After years of searching for a better way, Figma to Framer has become the closest thing I've found to a seamless pipeline.
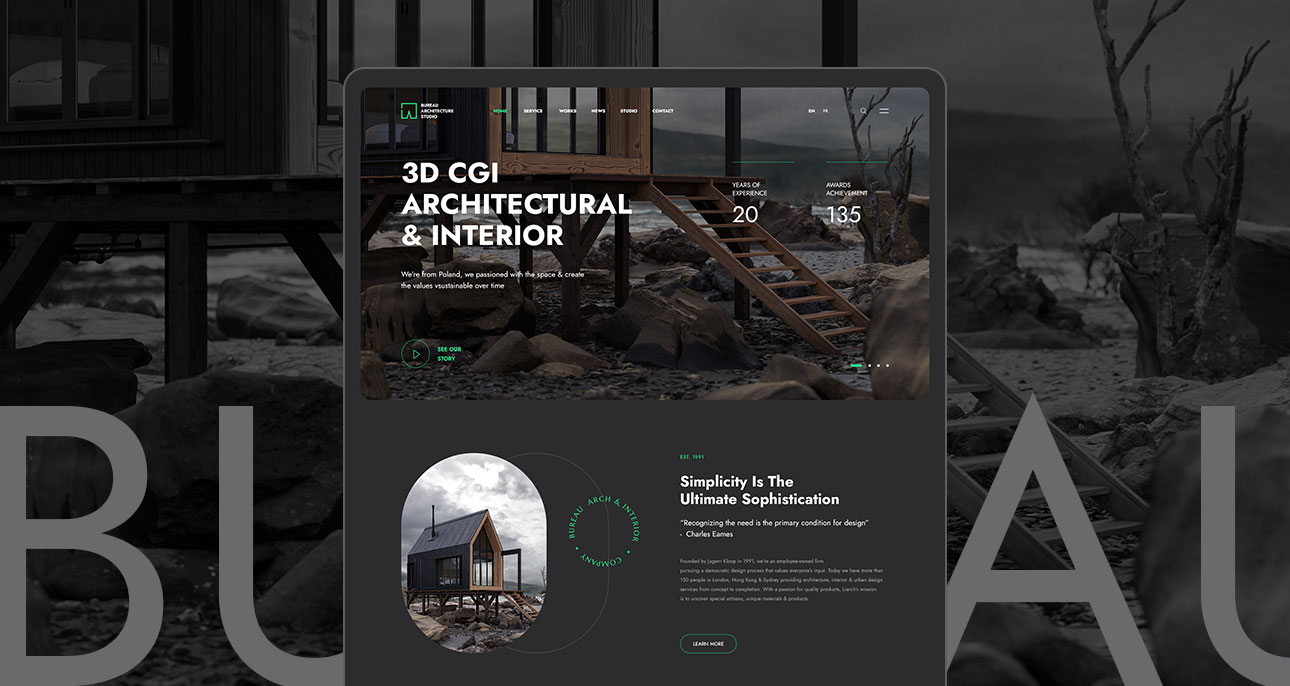
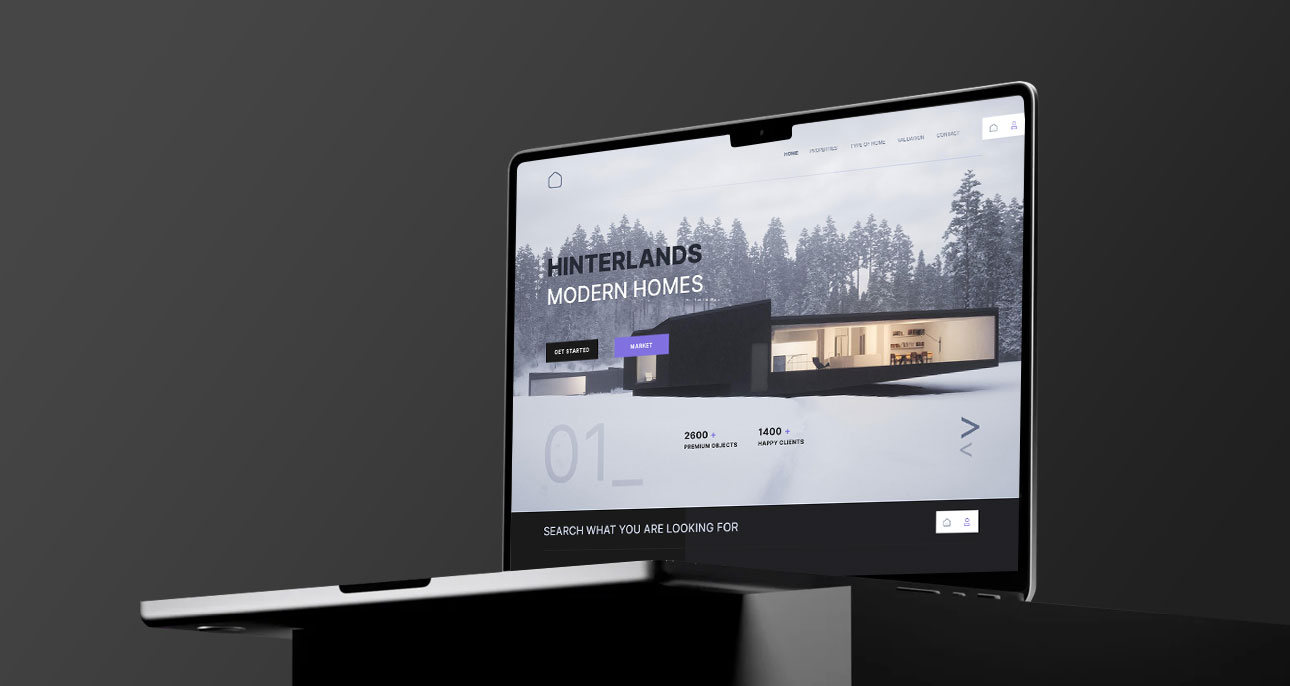
Start with a solid component library in Figma
The quality of your Framer output is directly proportional to the discipline of your Figma structure. I build every project using auto-layout everywhere, consistent naming conventions, and a token-based color and type system. When you import a Figma file into Framer, it reads your auto-layout as Flexbox. Messy Figma equals messy Framer. Take the time to get it right.
Framer's real power: overrides and variables
Where Framer goes beyond any other visual tool is its override system. You can wire up any component property — text, color, image, visibility — to a variable that responds to user interactions. I use this to build fully interactive prototypes that clients can actually use, not just click through. Combine it with Framer's CMS and you have a production-ready site that non-developers can update themselves.
The prototype and the product are the same file. There is no handoff.
The handoff that isn't a handoff
The biggest shift in this workflow is psychological. Designers stop thinking of Framer as a prototyping tool and start treating it as their production environment. That means making decisions in Framer, not Figma. Responsive breakpoints, hover states, loading sequences — all live in the Framer file. The Figma file becomes the design source of truth; Framer becomes the source of shipping truth. Once you make that mental shift, the workflow becomes remarkably fast.